Deploying Spring Boot onto Kubernetes
Kubernetes is great, but flippin’ heck, it is unbelievably complicated for new developers.
If you’re a developer who’s new to Kubernetes, you might be staring it in the face and thinking “how the hell do I work this thing”. Or you might be thinking “oh great, yet another step in my deployment process 😩”
So I wanted to put together a clear guide on how to deploy a Spring Boot application to Kubernetes. This will get you going running your first application on Kubernetes.

Here’s what I’m going to walk through in this tutorial:
-
Run Kubernetes on the desktop using Minikube
-
Use Maven to compile a Spring Boot application to a JAR, and also build a Docker image for it
-
Deploy the application on Kubernetes, in a container
LET’S GO. 🎈🎈
Get yourself a friendly, local Kubernetes cluster
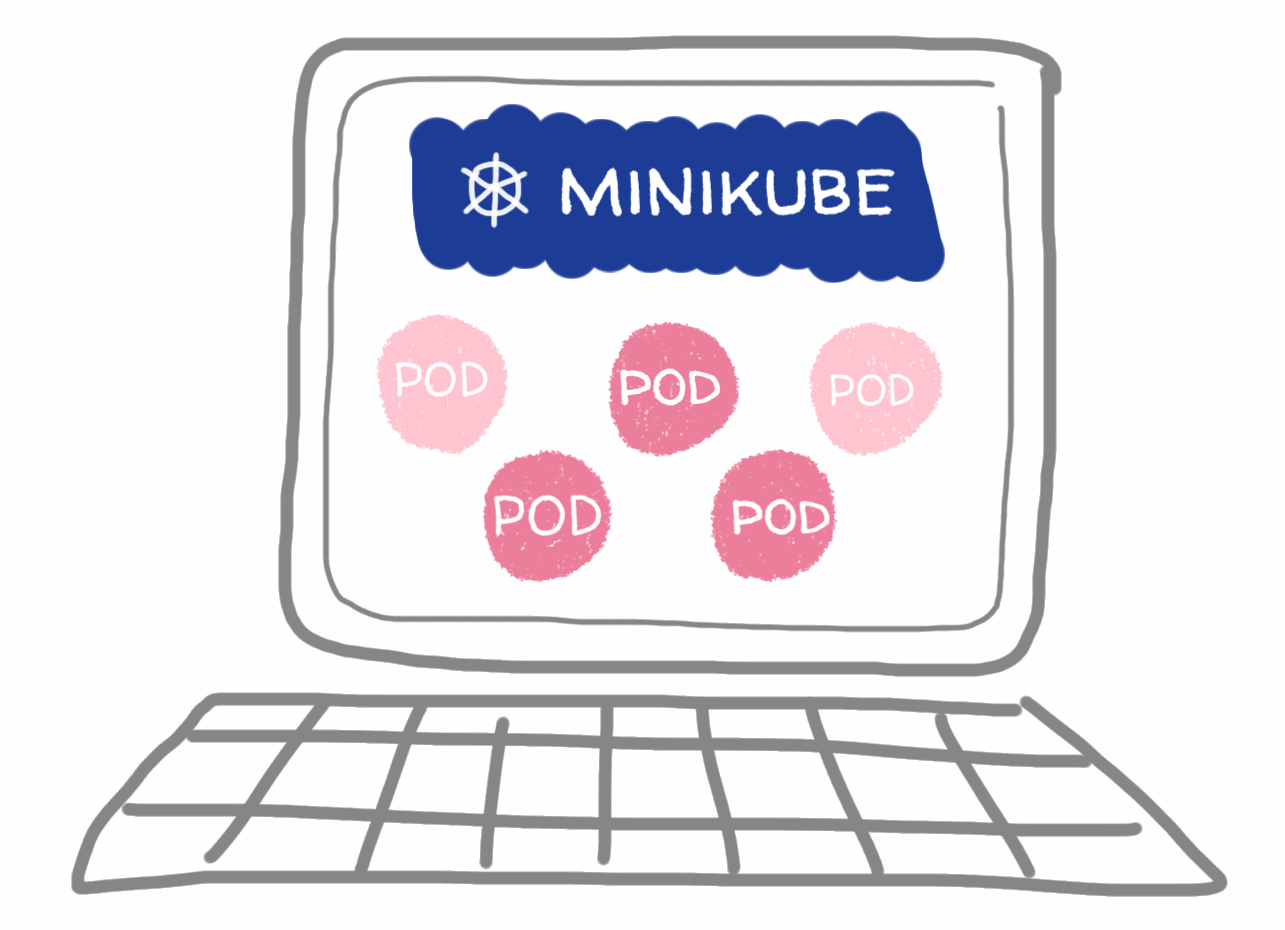
For a novice like me, enterprise-grade Kubernetes is pretty difficult to set up. Fortunately, for developers, there’s Minikube!
Minikube is a way to run Kubernetes on your local machine. It’s kind of like a scaled-down version of Kubernetes, which is way more suitable for doing local development work.
It lets you get a feel of Kubernetes without having to mess around doing a full install.
To set up your local Kubernetes environment with Minikube:
-
Then start minikube:
$ minikube startThis will start up a virtual machine (VM) and spin up a single-node Kubernetes cluster inside it.
-
You can check that Minikube is up and running by running
minikube status:$ minikube status host: Running kubelet: Running apiserver: Running kubectl: Correctly Configured: pointing to minikube-vm at 192.168.99.100At this point, Kubernetes is now running inside the virtual machine. If you want to take a look at the inner workings of Kubernetes, then you can SSH into the VM and have a look around by typing:
$ minikube ssh -
When minikube starts for the first time, it will create three namespaces. Namespaces in Kubernetes are like projects within Kubernetes where we can deploy things:
$ kubectl get namespacesWe’ll deploy our Spring Boot app into the
defaultnamespace for now as it’s easiest.
Build an image with the Fabric8 Maven Plugin
The next step in the process is building a Docker image.
I prefer to get the Fabric8 Maven Plugin (FMP) to do the hard work. It’s a plugin for Maven which builds images, and does all the necessary stuff to deploy to Kubernetes or OpenShift.
FMP auto-detects your application, makes some reasonable assumptions about what you want to deploy, and sorts out the Docker build for you.
For this tutorial, I’m assuming that you’ve already got a Spring Boot application you want to deploy. (If not, go generate a new application using the Spring Initializr!)
-
First, we need to add the Fabric8 Maven Plugin to our project’s POM. This will set Maven up for some Fabric8 goodness.
cdto your project’s root (where yourpom.xmlis located).Add the Fabric8 Maven Plugin into the plugin section of your
pom.xml:<plugin> <groupId>io.fabric8</groupId> <artifactId>fabric8-maven-plugin</artifactId> <version>3.5.41</version> <configuration> <enricher> <config> <fmp-service> <type>LoadBalancer</type> </fmp-service> </config> </enricher> </configuration> <executions> <execution> <goals> <goal>resource</goal> <goal>build</goal> </goals> </execution> </executions> </plugin> -
Next, build a Docker image. To build Docker images, Fabric8 Maven Plugin uses a Docker daemon.
Fortunately, Minikube already contains one!
So we execute this next command. It sets up some environment variables which configure Fabric8 Maven Plugin to use the Docker daemon running in Minikube. It does this by setting the
DOCKER_HOSTvariable, and a couple of others:$ eval $(minikube docker-env)If you’re running Windows, just type
minikube docker-envand it will tell you what you need to do. -
Finally, we compile our Spring Boot application to a JAR (
package) and build a container image using thefabric8:buildgoal:$ mvn package fabric8:buildThis will:
-
Compile your Spring Boot app to a JAR
-
Pull down a suitable base image to use for your application, from Docker Hub
-
Use Minikube’s Docker daemon to build (or bake!) a Docker image, using the base image
-
Push the new image into Minikube’s local Docker registry
-
-
Once the build has completed, you can take a look at it in the Docker registry:
$ docker images
REPOSITORY                                TAG                           IMAGE ID            CREATED             SIZE
apps/my-spring-boot-application           latest                        d7e9ee334e18        About an hour ago   481MB
apps/my-spring-boot-application           snapshot-190303-181942-0375   d7e9ee334e18        About an hour ago   481MB
NB: Rather confusingly, each Docker image is technically listed in this command in the repository column (not to be confused with a registry, which is a place that stores and serves Docker images!)
Run the application in Kubernetes
The next thing you’ll want to do is run the application.
Fabric8 Maven Plugin can help with that too.
At its most primitive level, Kubernetes is configured by writing a bunch of YAML files and applying them to the cluster using a REST API.
It is, quite frankly, a massive faff.
Fortunately FMP can do all of the YAML stuff for you. It creates YAML files for your application and then applies them to the Kubernetes cluster.
-
To deploy:
$ mvn fabric8:watchThis will:
- Generate the configuration files (YAML) to be applied to Kubernetes
- Create a Deployment and a Service for your application
- Start a Pod with your application running inside a container
- Tail the logs from your Spring Boot application
-
Now you can visit your deployed application, in your browser.
Execute this command, which will fetch the URL to your application
$ minikube service your-applicationFabric8 Maven Plugin should still be following the logs from Spring Boot, so that you can watch them from the command line.
You can also view the application deployed in the Kubernetes Dashboard, which is a web-based view onto Kubernetes:
$ minikube dashboard -
When you want to stop the application, press Ctrl+C.
This will leave the Pod running. So, finally, to undeploy the application from Kubernetes:
$ mvn fabric8:undeploy
Congrats, you’ve deployed your Spring Boot application to Kubernetes!
Any questions or comments? Post them below!