How to create a SOAP service in Talend
This Talend SOAP tutorial will show you how to create a SOAP web service in Talend ESB.
What is a Service in Talend ESB?
In Talend ESB, a (Web) Service consists of a WSDL file, and an assigned Job. Services themselves do not contain any logic, but are instead wrappers for Jobs, where the logic is implemented.
A Job that will be exposed as a Service uses an tESBProviderRequest component to receive the web service request, and the tESBProviderResponse component to return the response to the consumer. Logic is typically placed between these two components – for example, to validate and save a new customer record.
The following steps describe how to create a simple synchronous (request-response) web service in Talend Open Studio for ESB.
Talend SOAP tutorial - creating a Job to expose as a Service
You can create the Job before you create a Service, or you can have Talend create a Job for you automatically. I prefer to create the Job first. The most simple example of a Job that can be exposed as a Service in Talend ESB looks like the following:

This is a simple Talend Job consisting of:
- A tESBProviderRequest component
- A tESBProviderResponse component
- A wire connecting the Request to the Response (right-click the tESBProviderRequest icon and drag to the tESBProviderResponse component to make the connection).
At this stage we don’t need to worry about any processing logic. Our service will simply echo a response back to the consumer.
Create a simple Job and ensure it is saved before continuing.
To create the Service and assign the Job
-
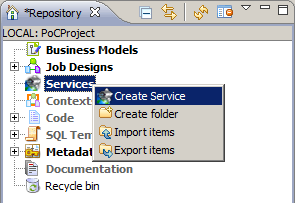
In the Repository, right-click the Services node and choose Create Service.
-
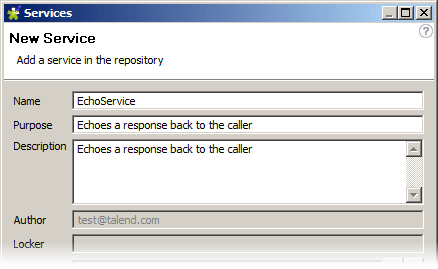
In the New Service dialogue box, enter in some basic details about the service (Name, Purpose, Description) and click Next.
-
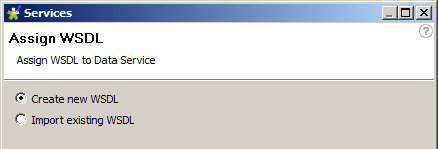
On the Assign WSDL page, select Create new WSDL and click Finish.
-
The WSDL editor is displayed:

-
Click the grey arrows by each message (input, output) to enter the schema editor, where you can customise each message structure. Here we have customised the input message to contain two elements,
greetingandname:
-
Once you have customised the message structures, find the web service operation in the Repository tree (find the Service you created, and then expand all child nodes until the operation is displayed). Right-click the operation name and choose Assign Job.
-
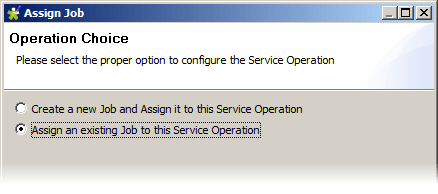
Choose Create a new Job and Assign it to this Service Operation.
-
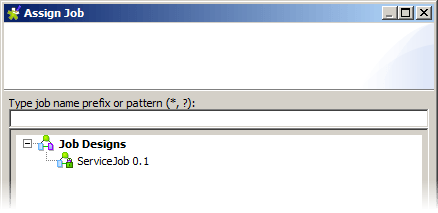
On the next step, select the Job you created above and click Finish.
-
Now locate your job in the Repository tree (you can double-click either the Job or the Service) and click Run. The following output will be displayed in the Console:
> web service [endpoint: http://localhost:8090/services/EchoService] published</pre> -
In your web browser, navigate to
http://localhost:8090/services/EchoService?WSDL. This will display the web service’s WSDL. The web service is now deployed.
Using the WSDL location given in the final step, you can now consume this service from any other application that supports SOAP services.
I hope you’ve enjoyed this Talend SOAP tutorial. If you’ve found it useful, please share! And if you have any thoughts, please post your feedback in the comments below.